
Building an OSD Front End Using C#: Part 2 Initial Form Configuration
Now that we have our development environment sorted and our basic project created we need to lay out the basic framework for our form. Since we’re using the MahApps.Metro resources we’ll need to change a few things to get everything looking right.
- Open the MainWindow.Xaml file from the right hand menu and update the
<Windowtag to be<Controls:MetroWindow -
Now we need to make some changes to the MetroWindow tag, see the following code block and compare to your project. This will add in the namespaces we’ll be using as well as adding in some info about the overall form design.
<Controls:MetroWindow x:Class="UMN\_OSDFrontEnd.MainWindow" xmlns="http://schemas.microsoft.com/winfx/2006/xaml/presentation" xmlns:x="http://schemas.microsoft.com/winfx/2006/xaml" xmlns:d="http://schemas.microsoft.com/expression/blend/2008" xmlns:mc="http://schemas.openxmlformats.org/markup-compatibility/2006" xmlns:Controls="clr-namespace:MahApps.Metro.Controls;assembly=MahApps.Metro" xmlns:local="clr-namespace:UMN\_OSDFrontEnd" mc:Ignorable="d" Closing="MetroWindow\_Closing" Loaded="MetroWindow\_Loaded" Title="UMN OSD FrontEnd" Height="500" Width="1000" ResizeMode="NoResize"> -
Open the MainWindow.Xaml.cs file and change the
MainWindowclass to beMainWindow : MetroWindowusing MahApps.Metro.Controls; namespace UMN\_OSDFrontEnd { public partial class MainWindow : MetroWindow {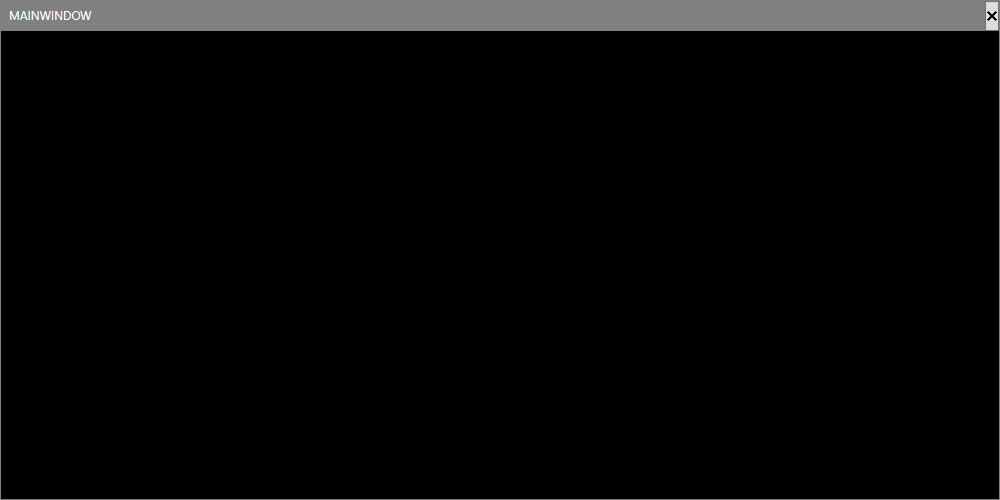
We should now be able to use F5 to build the application and have a basic Xaml form without any info on it.
Comments